Looking to go from Blender to Hubs but don't know where to start? This helpful template will get you on your way in no time.
One of my favorite things about making scenes for Hubs is making a brand new scene. It's a blank canvas with limitless possibilities, but it can also be a bit of a hassle remembering to include all of those little things that makes the Hubs scene work. I can't tell you how many times I have exported a new scene, tried it out, and then went “Oh, I forgot to include the environment map.” or “Oh, I forgot a nav mesh.”, etc. I'll generally start copying files from other scenes and appending items in from other files until I have satisfied the minimum requirements for a functional Hubs scene, and half dozen or so GLB files later, I finally have something I can walk around in.
To alleviate some of this hassle and to save time, I have created version 1.0 of the “Hubs Starter Scene File for Blender” - a rather bare-bones Blender file that is meant to get you going with your new project in as little time as possible. It also contains some suggestions for scene management that can help you save even more time down the road.
Link to file: DOWNLOAD
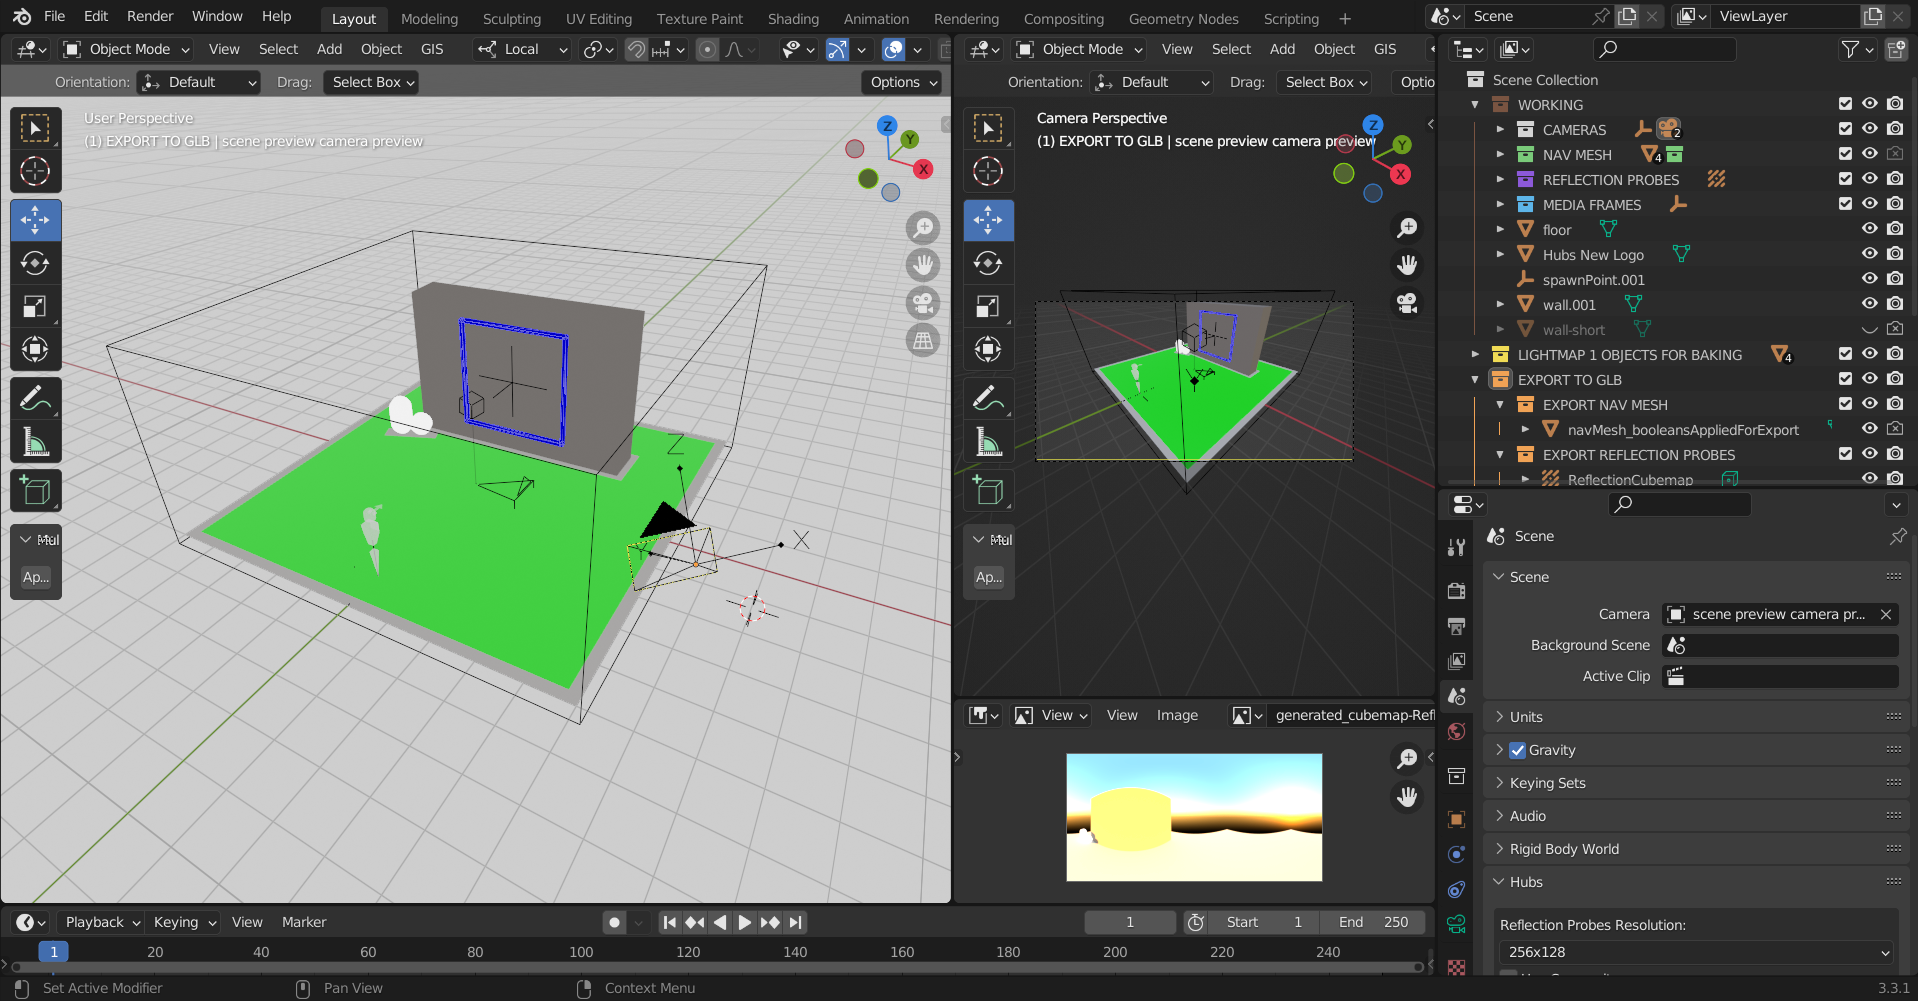
The file contains:
- A simple environment containing a ground plane, a wall with a media frame, and an emissive Hubs logo.
- A navigation mesh (including the source mesh which still contains the boolean cutout shapes used to create this mesh).
- A spawn point.
- A 'Scene Preview Camera' “empty” with a camera parented to it, so you can preview where it's looking.
- A background sky texture (used to light the scene).
- An equirectangular camera properly positioned to render out the background HDR image. Remember to hide your geometry first!
- An 'Environment Settings' component containing a sample 'Background Image' (created from the background sky texture) and a smaller 'EnvMap' version of this HDR image.
- A 'Reflection Probe' with its own generated cubemap that matches the resolution of the 'EnvMap' (required or it won't work!).
- Two materials with a pre-baked lightmap image already applied and the appropriate nodes added to the shader graph.
The file hierarchy is broken up into 3 main collections, each of which serving a specific purpose:
“WORKING”: This is where all of the things go as you work on them. There might be things in here that are never intended to be exported, such as the “wall-short” object in this file, which is an alternative version of the wall that I may or may not use in the future. I also have my original navmesh in here (“navMesh_working”) which has a boolean modifier applied to it, and individual boolean shapes that I used to cut the navmesh, none of which I want to export. Ultimately I duplicated this working navmesh, applied the boolean cuts, and then this is the version that I added to the export collection (mentioned below).
“LIGHTMAP 1 OBJECTS FOR BAKING”: This is where I will reference objects that are associated with my one and only lightmap (in this scene). As I work on the scene and it gets more and more complex, I may add an additional collection (LIGHTMAP 2) and corresponding lightmap image. Having these collections will make it really easy to tell which objects belong to which lightmap as your scene grows in complexity, and to select them when it's time for baking.
“EXPORT TO GLB”: This collection is specifically for the things that I intend to include when I export my file for Hubs. That way I can simply highlight the collection (by clicking on it), and then when I click File > Export > glTF 2.0 (.glb/.gltf), as long as my settings are set to include 'Active Collection', I can be sure that I am exporting the correct objects, no matter whether they are currently hidden in the active viewport or not. (Note: Make sure you also have 'Cameras' included if you are using the 'Video Texture Source' component, and that that camera is included in your “EXPORT TO GLB” collection. It doesn't hurt to just always have that enabled, just in case.)
That's pretty much all there is to it! As this is the first version of this file, it will no doubt go through iterations as time goes on, and as more and more features and capabilities are added to the Hubs Blender Exporter. Feel free to use this file and offer feedback via the GitHub issues page , or on our Hubs Community Discord Server.
I hope that this is a useful time-saver for you. Happy scene creating! :)