Looking for a unique way to share your photo's and art in a virtual meetup? This post will guide you to creating your own customized gallery for free with Mozilla Hubs
Galleries in Mozilla Hubs are unique because they:
- Allow artists to send links to a cross-platform accessible space without having to download any special software.
- Enable people to come together and celebrate art/photos for online events in interesting ways.
- Are accessible 24/7 around the globe.
- Allow experienced artists and developers to customize the environment however they would like.
You don't need years of 3d art experience to build your first gallery! Let's get started with the modular art gallery, a scene where you can easily customize the layout and content in Spoke, a free and open-source scene editor that works right in your browser.
You can start by creating a new project and searching for the modular art gallery or by clicking 'Remix in Spoke' using the modular art gallery scene link.
You can pause before jumping in and take the tutorial from the help menu. I'll walk you through some basics here, as well if you would rather dive right in.
Give yourself a moment to learn more about controls in Spoke. Hold right click and move your cursor to 'look' and you can use the W A S D keys to move while holding right-click.
Starting from a new modular art gallery project in Spoke, notice the Hierarchy panel in the upper right? This panel will have all your scene elements and it's very helpful to organize your scene.
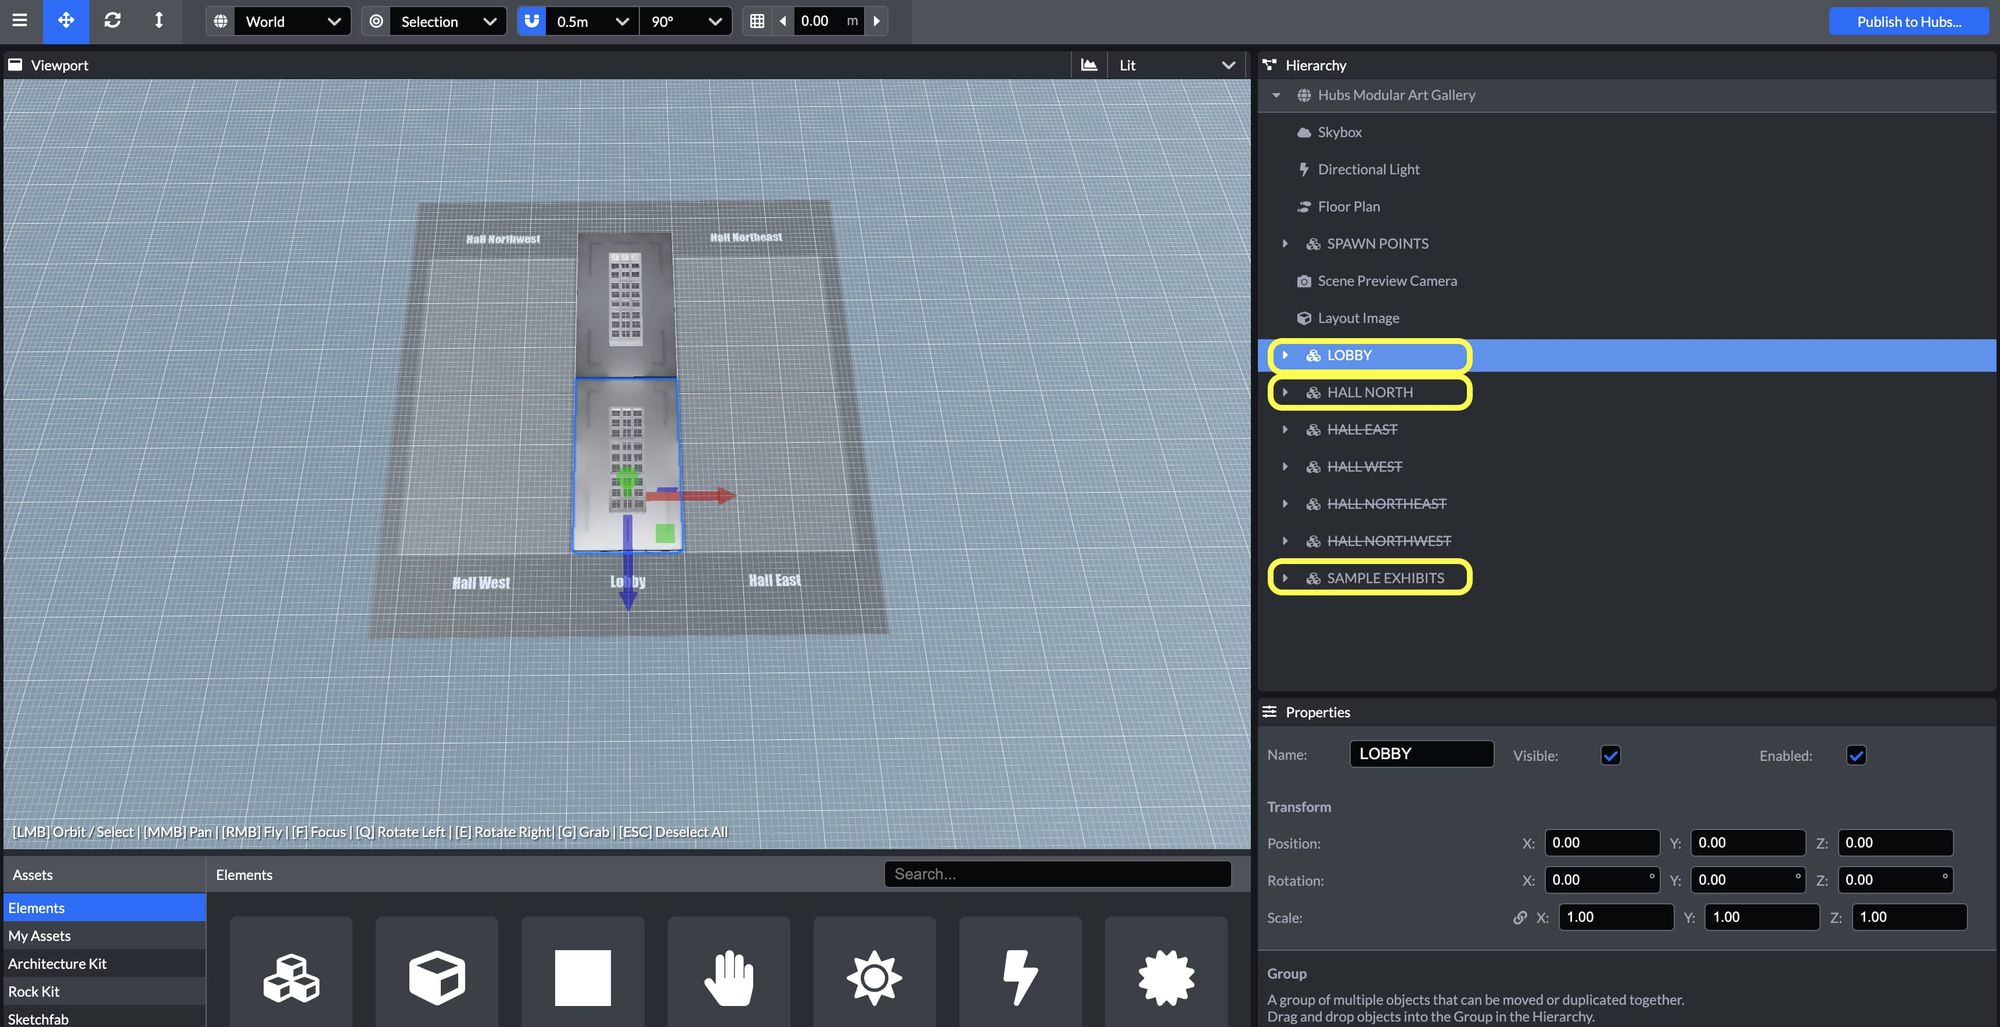
Need a new wing to explore? Enable the west hall, disable the walls, and regenerate the floor plan. The nav-mesh is what determines movement in a space, if you forget to update the floor-plan, people won't be able to navigate to your new wing.
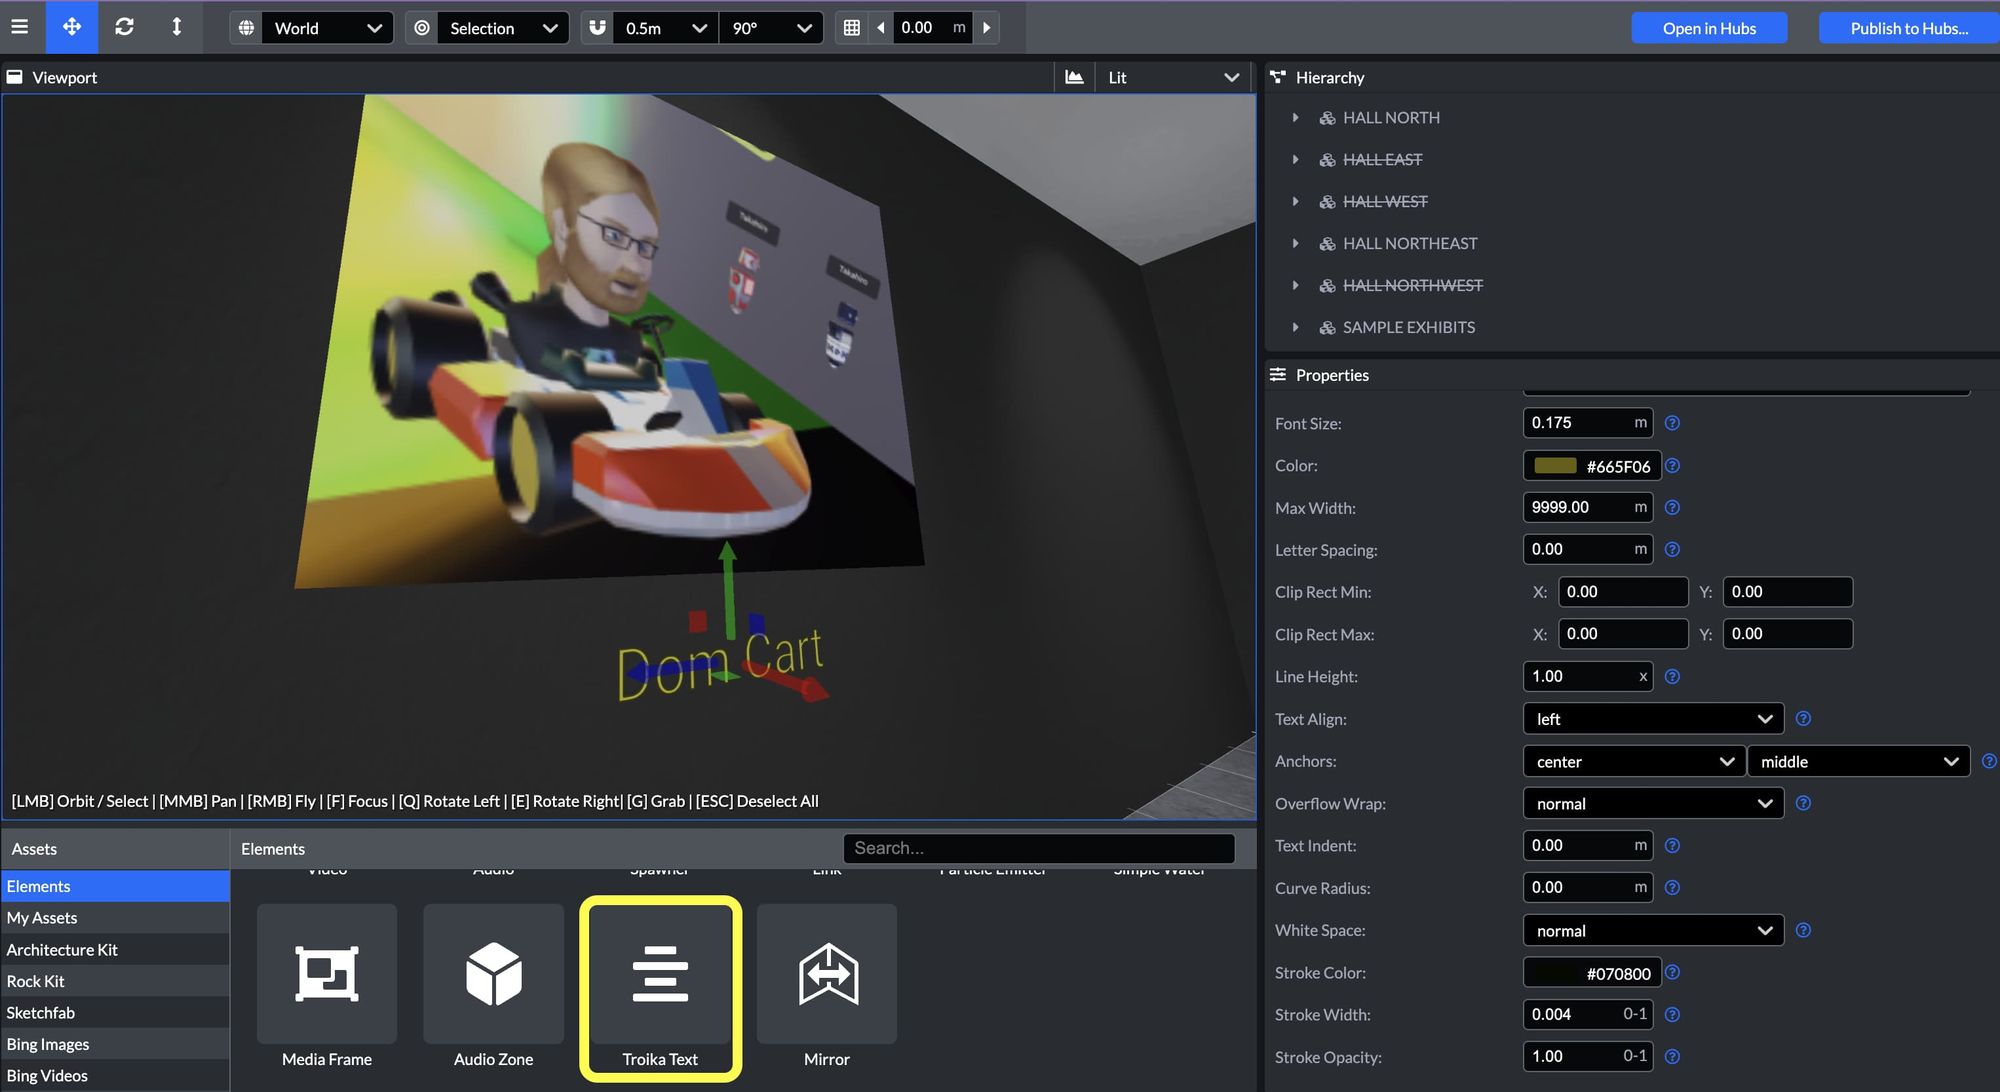
Now that you can customize the rooms, let's swap out some of the exhibits with your own photos.
Hopefully now you are well on your way to publishing your own galleries. Once your gallery is set up, it's time to publish and share the room link. With the room link, you will be able to invite people to your gallery and they can join with a mobile phone, tablet, desktop computer, or in VR!
For more Mozilla Hubs updates and Creator Labs content, follow us on Twitter or Discord.